Rendering – Part 1
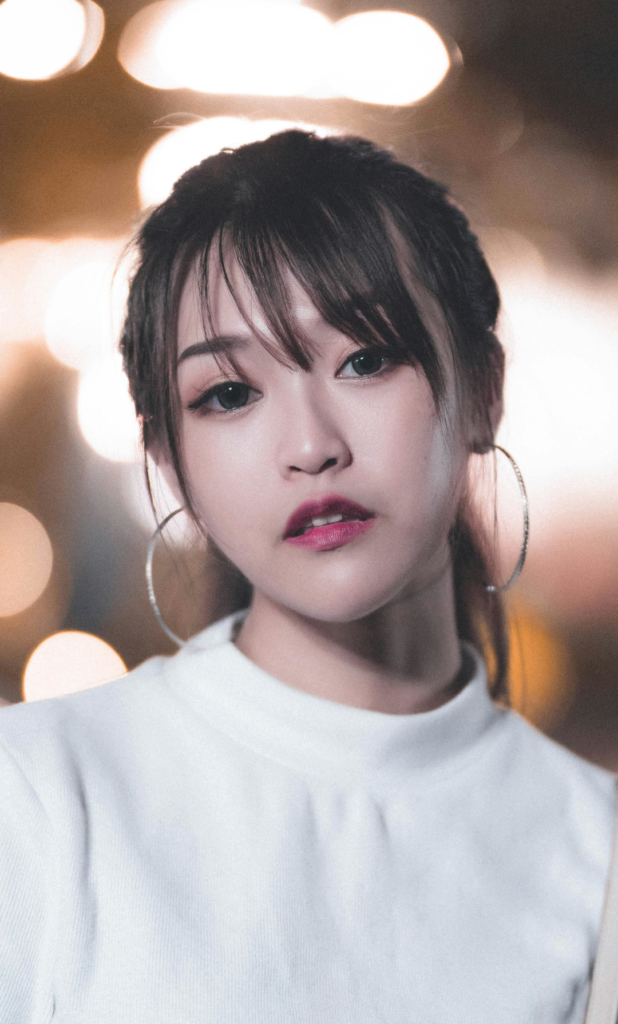
Reference Photo
Where We Left Off

The drawing is laid in, ready for rendering.
Beginning Rendering

I begin in the area around the eyes. I move down the nose as well.
For the darkest darks I’ve chosen a 2B lead. The darks of the nostrils, I’ve used a 4B lead.
I’ve decided to mix together continuous shading along with crosshatching. Some areas are just so dark, that it just makes sense, rather than meticulously build up crosshatching. I render the eyelashes fairly solidly. I put in some areas of the hair that cross the eyes and eyebrows just to give myself a sense of completeness early on.
When it comes to the eyebrows, they’re crosshatched with a 2B.
For the eyes, the top parts of the irises, which are the darkest, are shaded solidly. The lower parts of the irises are shaded with crosshatching to blend out.
For the skin tone, the local value is very light, so I don’t need to build up a lot of hatching. I choose a 2H lead to lay in most of the hatching you see here.
The shadowed part of the nose, I switch to a softer HB lead. I don’t need it to be as dark as the areas with 2B, so it’s only an HB. I crosshatch darker shades over lower layer of 2H crosshatching.

