Rendering Part 4
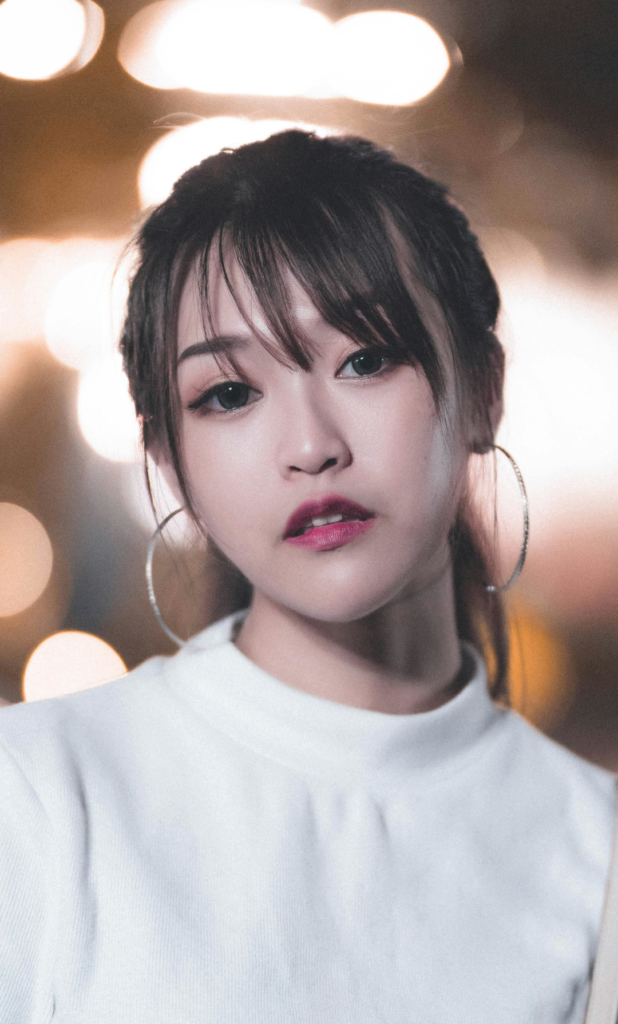
Reference Photo
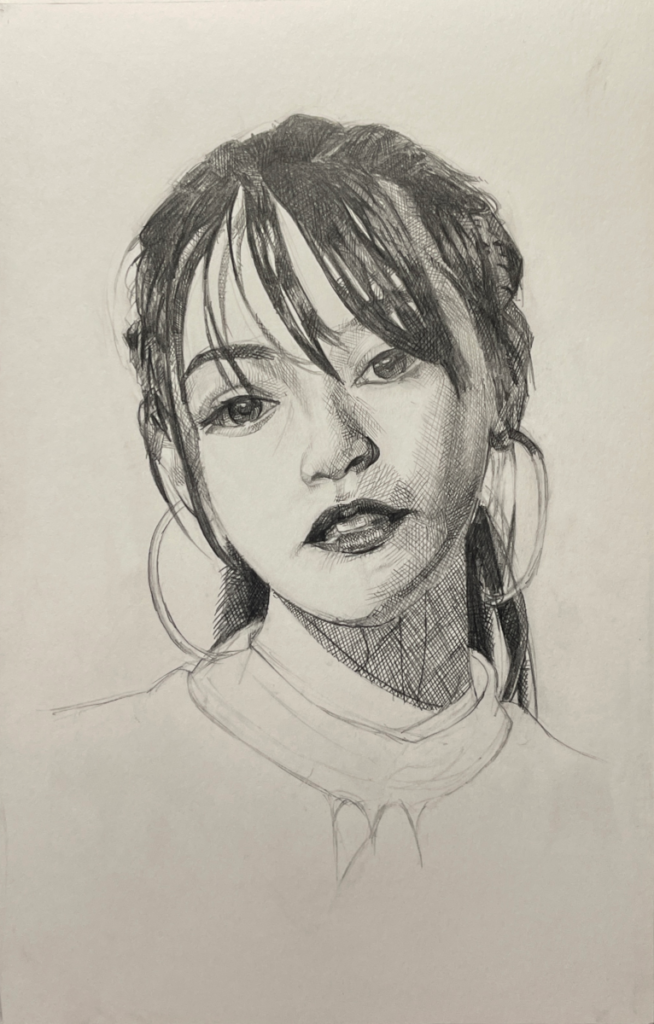
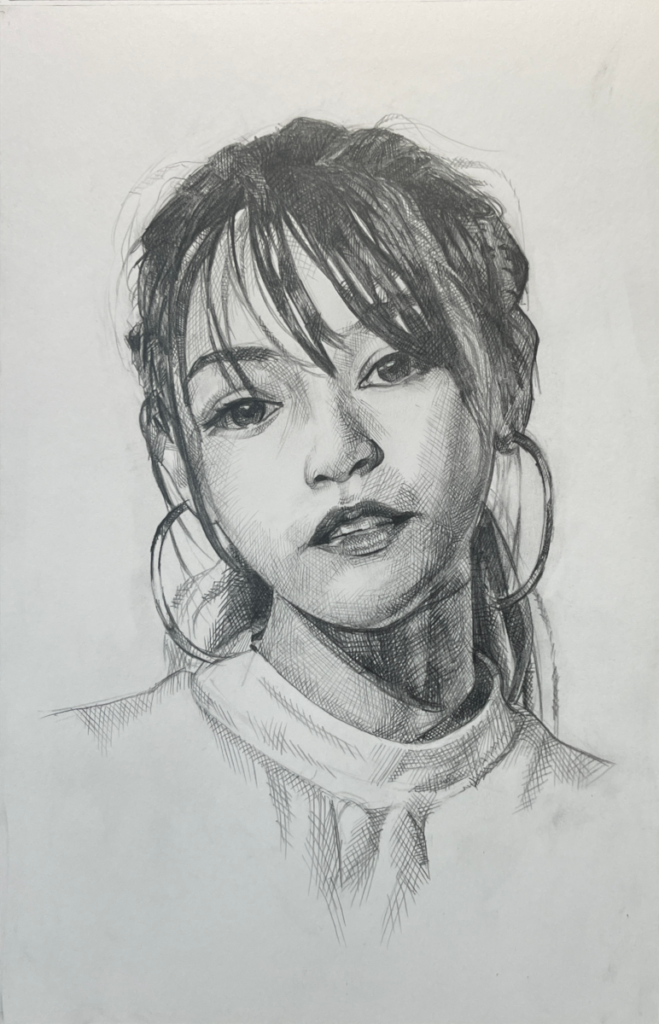
Where We Left Off

The face and hair are mostly complete at this point. I’m ready to bring this drawing to a close.
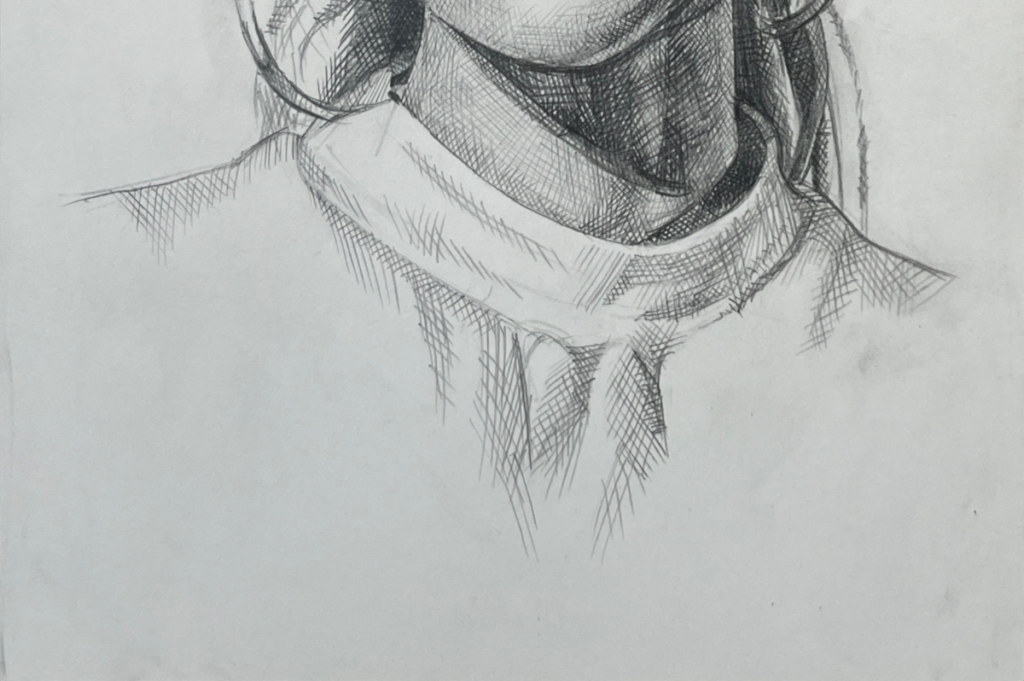
The Neck
I block in a flat mid-range value in HB for the shadow cast across the model’s neck. Note that I made sure the different shapes of values can show through this stage. I’ll need it for the next one.
I now model with 2B. I darken shades that need it, and I make the different forms of the neck more three‑dimensional.
The same light that’s illuminating the shadow of the left cheek is shining into the neck, showing its relief. I make sure to properly depict that here. Again, I can’t make it too light. I dab it out with a kneaded eraser.
Finishing Out
Clothes
I move down to the clothes.
As usual, I don’t spend too much time here, as they’re not going to be the focal point of the drawing. The model is wearing a white top, so I don’t need to spend too much time shading. I only need very light gray shades rendered with my 2H. I do my best to follow the folds of the shirt.
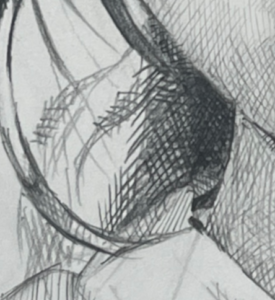
The Earrings
I finish the hoop earrings.
I don’t go for every detail. I come up with a pattern to suggest the reflectivity of metal. My biggest tricks are making sure there’s a highlight somewhere and maybe a block or two of darker shading to suggest a reflection of something from the environment.
Touch Ups
Now, it’s time to do some touch ups.
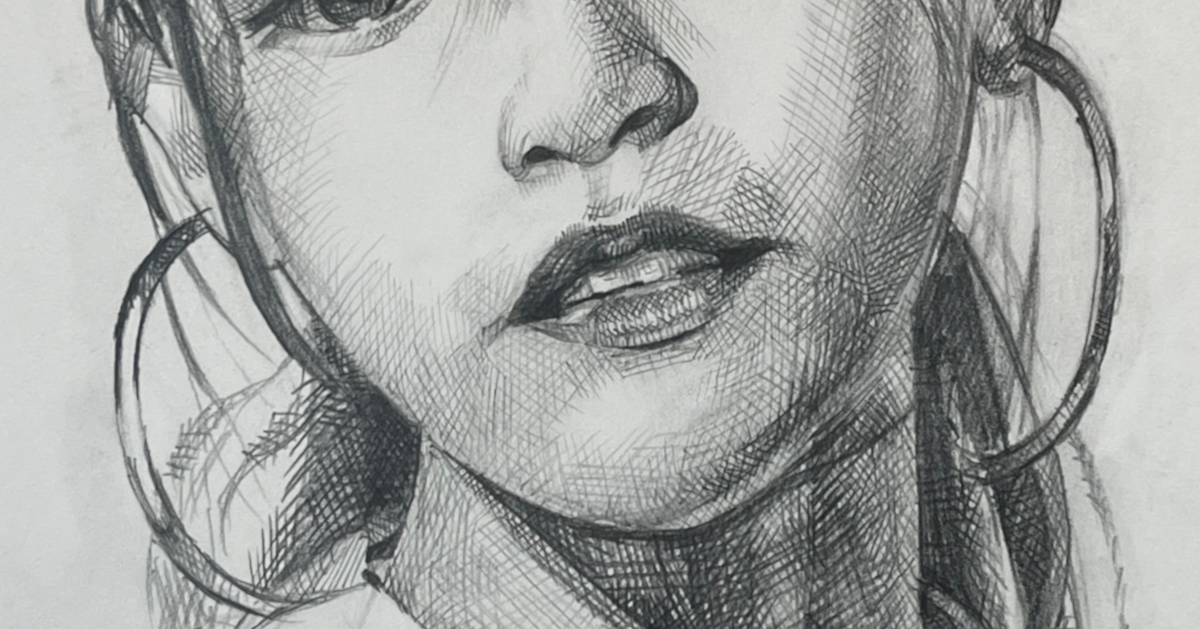
I had to put in a lot of half tone. Halftone needs to be put in carefully. It shouldn’t be too dark because that would give the impression that an area is in the shade when really it’s not. However, halftone is what really gives the form it’s look of three‑dimensionality – its roundness.
I put halftone along the model’s right cheek, which is in the light. I’ve put it in around the forehead, the chin.
If I look at the reference photo, there’s actually a lot of subtle shades in the light that surround bright white highlights, but I like this kind of look where the white paper does most of the talking for the lighted areas of the face, so I won’t go overboard with the subtle shading of the halftones.
This is something I prefer to do with crosshatching – I do make sure to get every subtle shade in when I use continuous shading. (An example of that is Portrait Demo no. 2.)
I did put a solid block of halftone in the lighted area of the neck. You do see a slightly darker shade in the reference, and this does help pull the viewer’s eye to the face.
Accents
The wispiness of the hair is another thing I wanted to get in. I don’t think I had to, but I thought it would give the drawing a little something extra.

I accomplished this by making sure the strands of hair have soft edges. To make a soft edge, simply don’t leave a harsh line. If you look closely, that’s the case. The edges of the strands are the broken patterning of crosshatches with no outline to tie them together, and when you pull back, that makes those wisps of hair look soft.
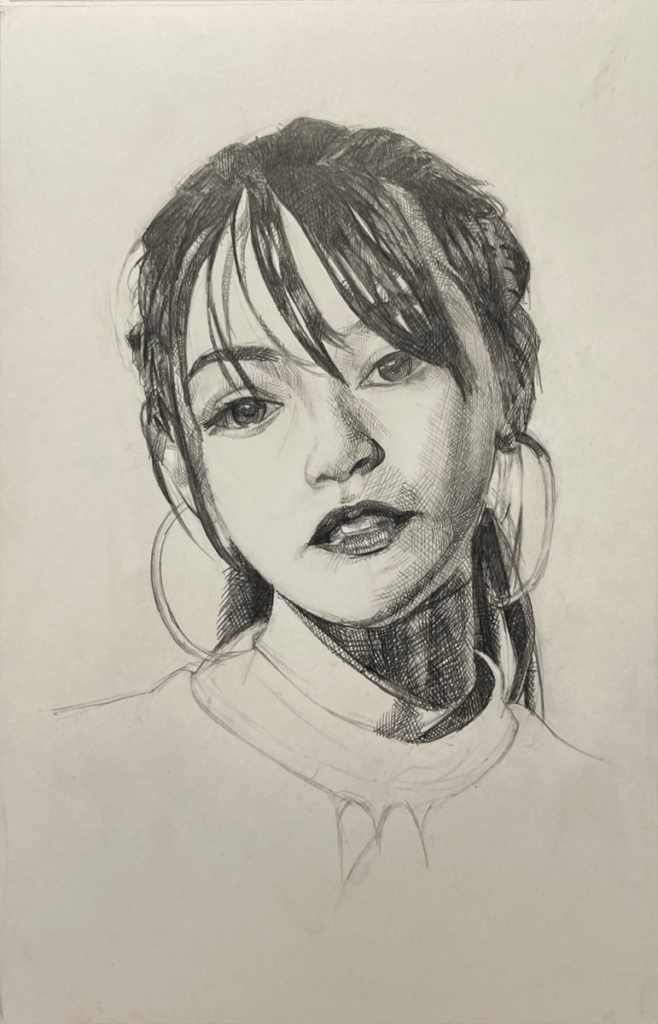
Final Touches
Some adjustments to brightness in photo editing, and we’re done.
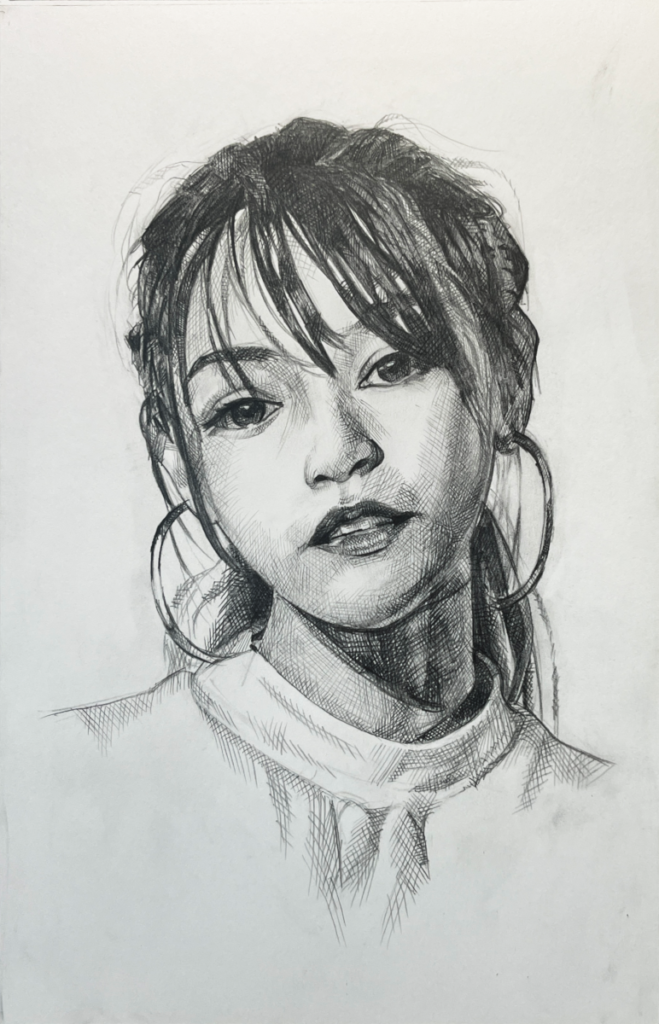
Final Thoughts
That’s it for my third demo in graphite. It’s another example of what you can do in crosshatching. I’m satisfied with how it came out.