
Rendering Part 2
Photo Reference

Where We Left Off
We pick up from last post where I finished up the eye area.
Right Cheek
I block in the model’s right cheek.
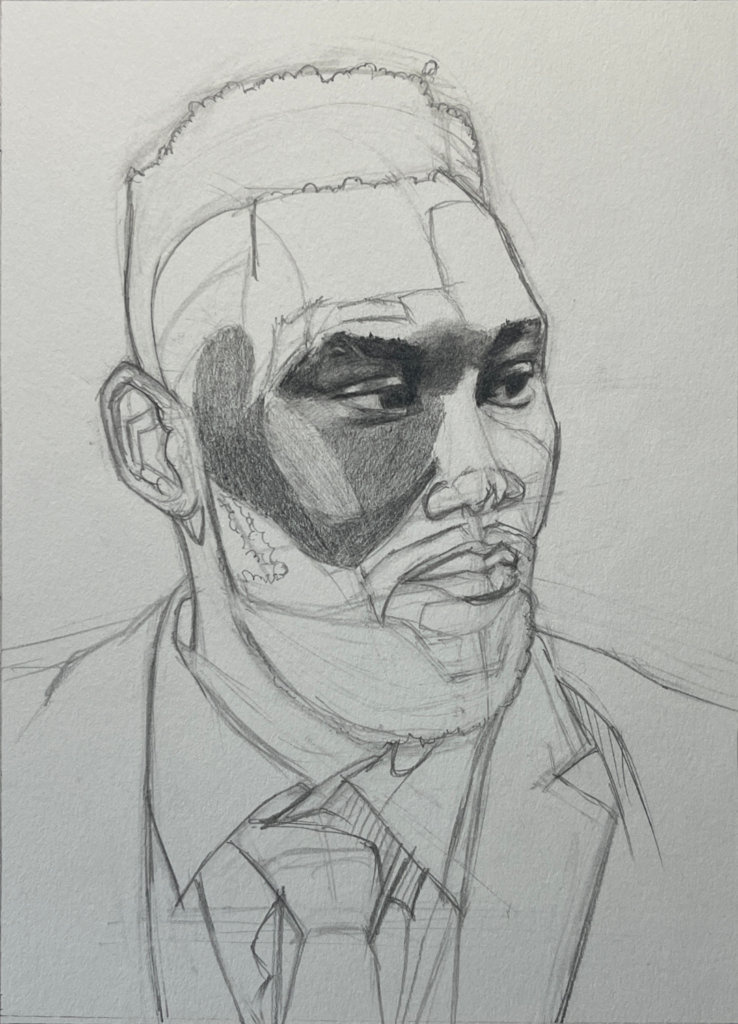
As usual, everything is hard-edged to start, and I follow my mapping of the values and planes very closely at this stage.
Refinement and Moving Across the Face
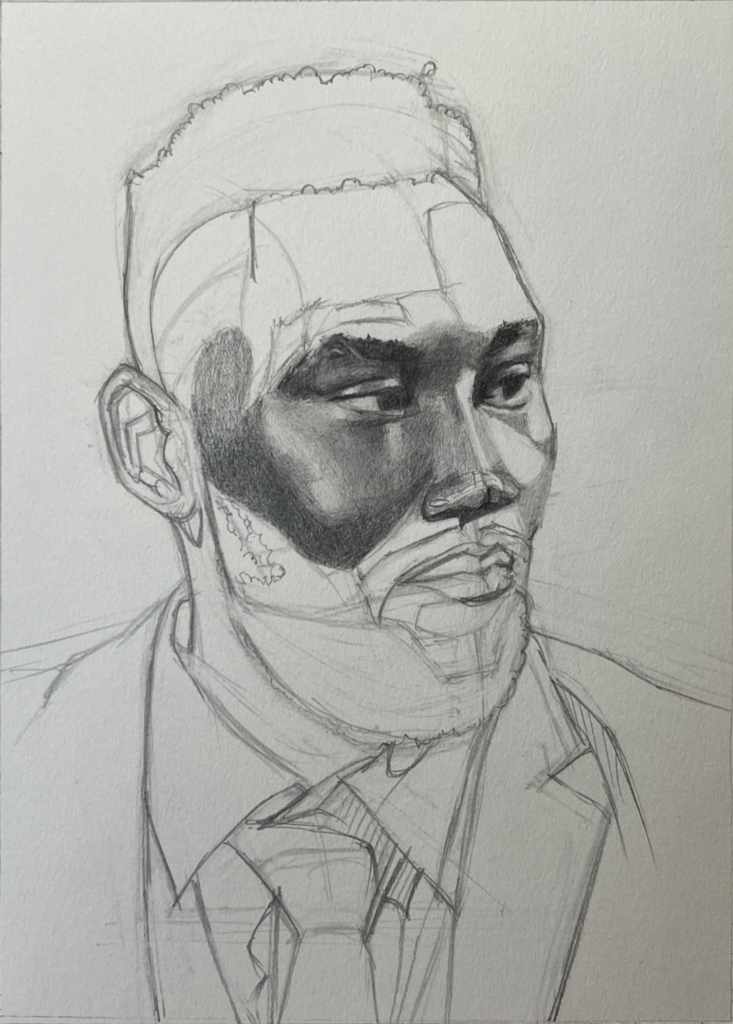
Just like I’ve explained in the previous post, I sharpen the tip of my pencil and fill in the holes of the paper tooth.
I also begin blending here, tying together the various shades.
I block in the values of the nose and left cheek.
Finishing Up for the Day
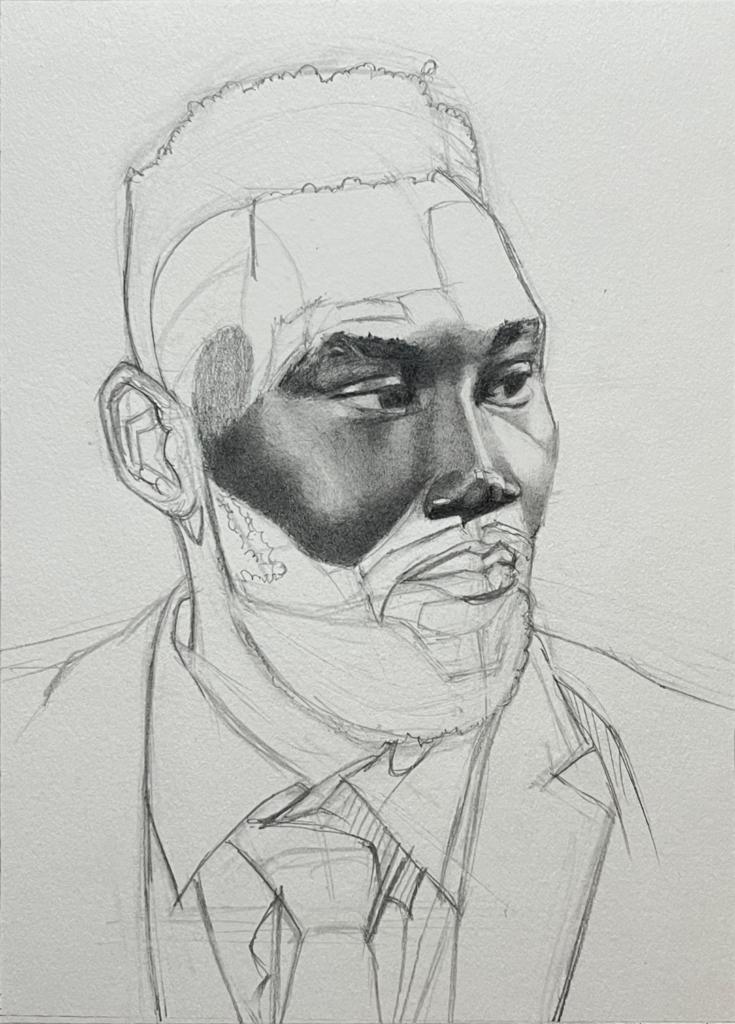
This is probably the most tedious part of my method, but I find it well worth it. And I have the patience. At this stage, it’s a matter of filling paper tooth, lifting dots of uneven peaks of graphite, blending values, and repeating as necessary.
I decide to quit for the day when the rendering looks as smooth as I like.
Other Posts in This Series
- Demonstration: Portrait in Graphite no. 2 (1) Line Drawing
- Demonstration: Portrait In Graphite no. 2 (2) Rendering Part 1
- Demonstration: Portrait In Graphite no. 2 (4) Rendering Part 3
- Demonstration: Portrait in Graphite no. 2 (5) Rendering Part 4
- Demonstration: Portrait in Graphite no. 2 (6) Rendering Part 5
- Demonstration: Portrait in Graphite no. 2 (7) Rendering Part 6
- Demonstration: Portrait in Graphite no. 2 (8) Finishing the Drawing