Rendering Part 1
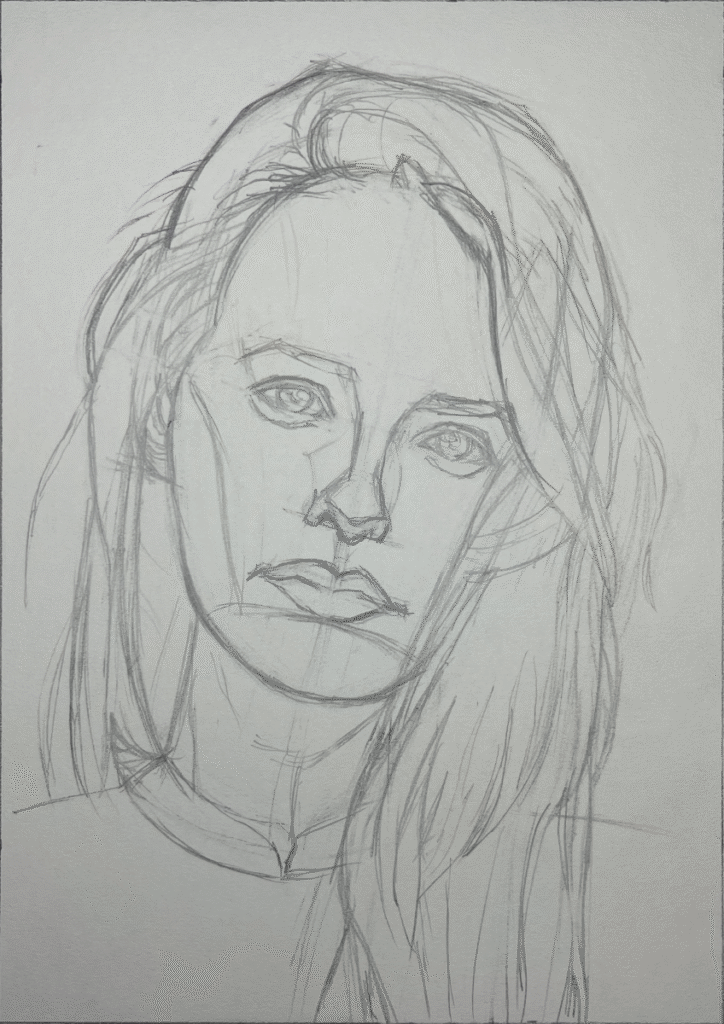
Reference Image

Beginning the Rendering
I will be using continuous shading for this drawing. I want to showcase that a bit more.
To start, I use an HB lead. I use circular strokes. The HB lead gives me a good range. I won’t reach the absolute darkest blacks, but I’ll have enough of a range for contrast. In the lighter areas, I switch to a 2H to make it easier to cover the paper but keep to the lighter values.
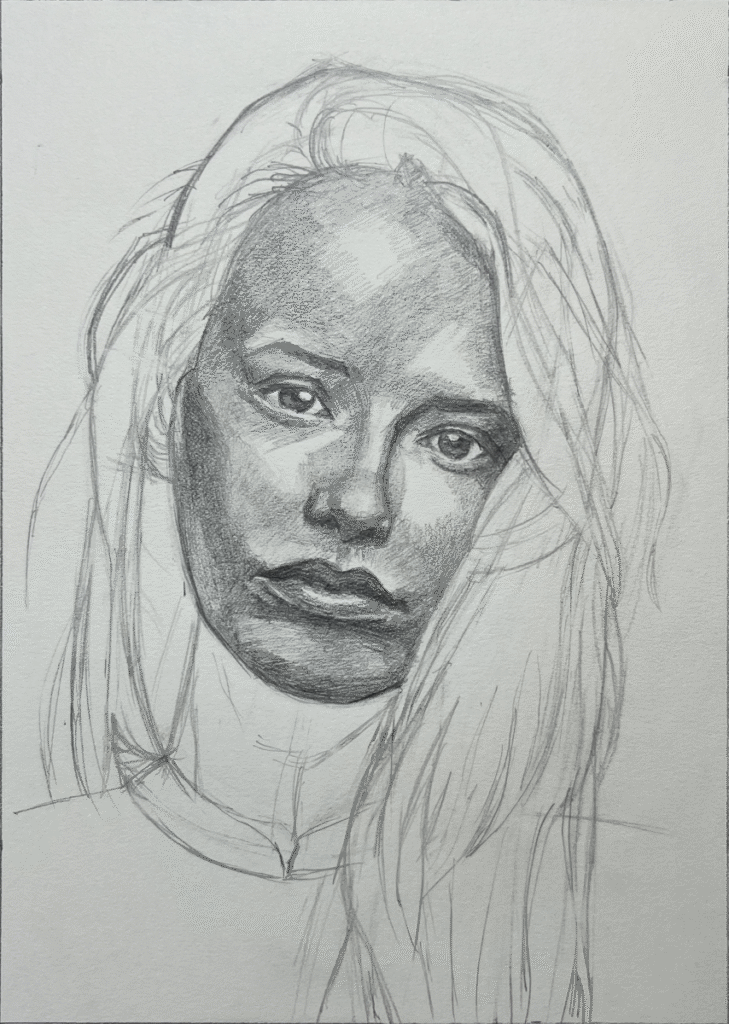
You’ll notice that this time, I’m a little less careful with my rendering to start. That’s because I want to be a bit more explorative or experimental with my rendering procedure. I intend to use the tortillons.
After the previous few drawings using crosshatching, that would be the Drawings from the Imagination 1 and 2, and the most recent Portrait Demonstration in Graphite no 5, I’ve seen that maybe tortillons can do something for me in continuous shading.
I won’t tighten up my pencil strokes for this first part, but I don’t intend to keep being this untidy.
Using the Tortillon
Now, I’m ready for the tortillon. I go over everything with gentle circular strokes, pushing the graphite around the surface of the paper. They need to be gentle because I don’t want to flatten the paper tooth. If that happens, I won’t be able to apply more graphite.
And here’s the result:
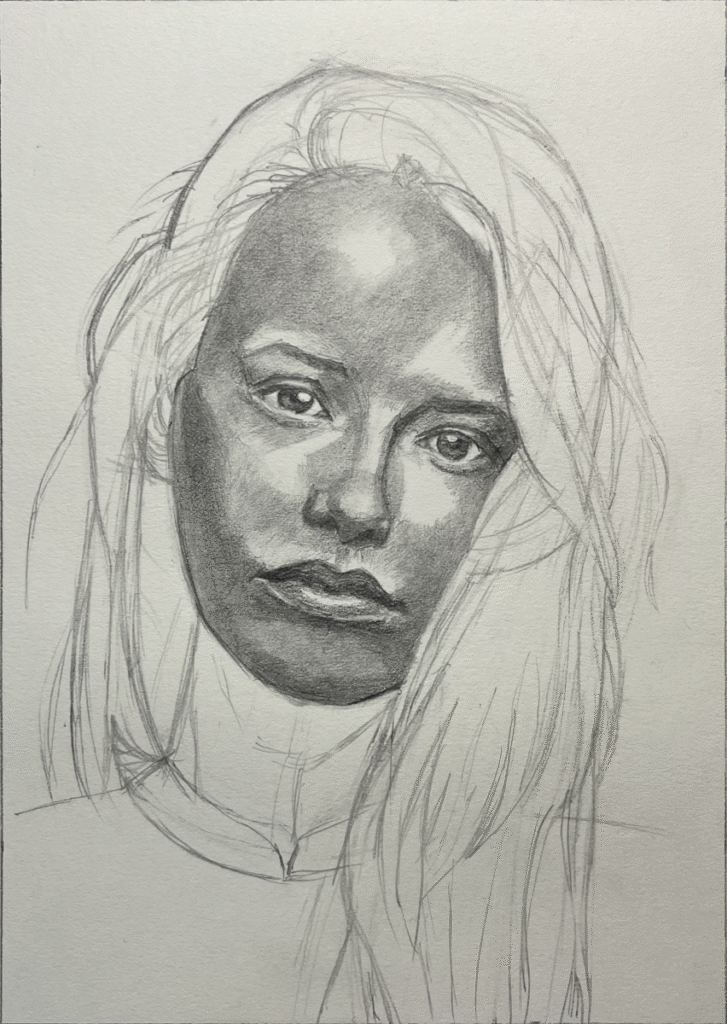
Welp, that’s a disappointment. Doesn’t look too good right now does it? That’s fine, this is a process. For now, what matters is that I have a nice even application of gray to start. I’ve filled as much of the paper tooth as I can at this point.
Fixing the Lights
To start, I’m going to dab up graphite from the lighter areas where it’s gotten too dark as a result of using the tortillon.
Thankfully, it looks like the graphite is still evenly distributed even after dabbing it up with a kneaded eraser. I’ll still be able to use is as a foundation for later shading.
Developing the Shading
Now, I return to what I always do in continuous shading. I use the pencil and kneaded eraser to carefully model the drawing to my satisfaction.
I did this in my Portrait Drawing in Graphite no. 3.
It’s been a while since that drawing, so I’ll go over my process again.
Paper has texture. This is called the paper tooth, and it’s needed to hold on to graphite or other media. You could think of paper tooth as having peaks and valleys. I take a sharp tip and fill in the valleys of the paper tooth. When it comes to the peaks of the paper tooth, I may have to use the kneaded eraser and lift away accumulations of graphite.
I do return to the tortillon every now and then. However, the key here is that I don’t overrely on it. Sometimes, it’s a matter of filling in the paper tooth with a sharp tip or lifting with a kneaded eraser. If I don’t do that, I may end up with blotchy, uneven coverage. The tortillon when used right can shorten the amount of time you need to shade, but used wrongly, and you may end up with a mess.
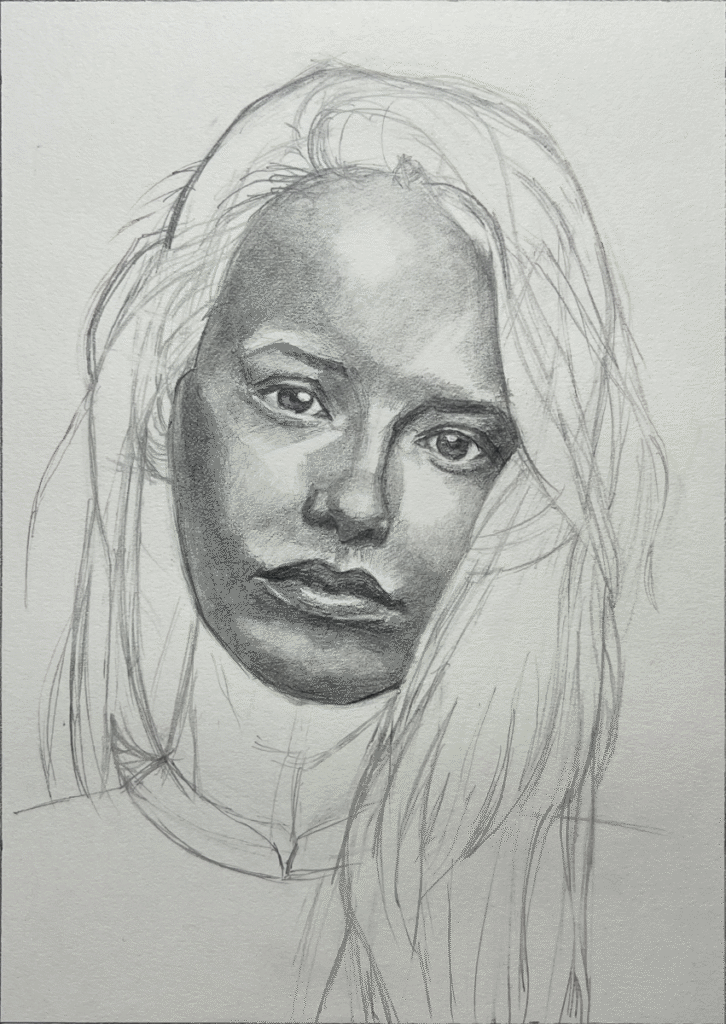
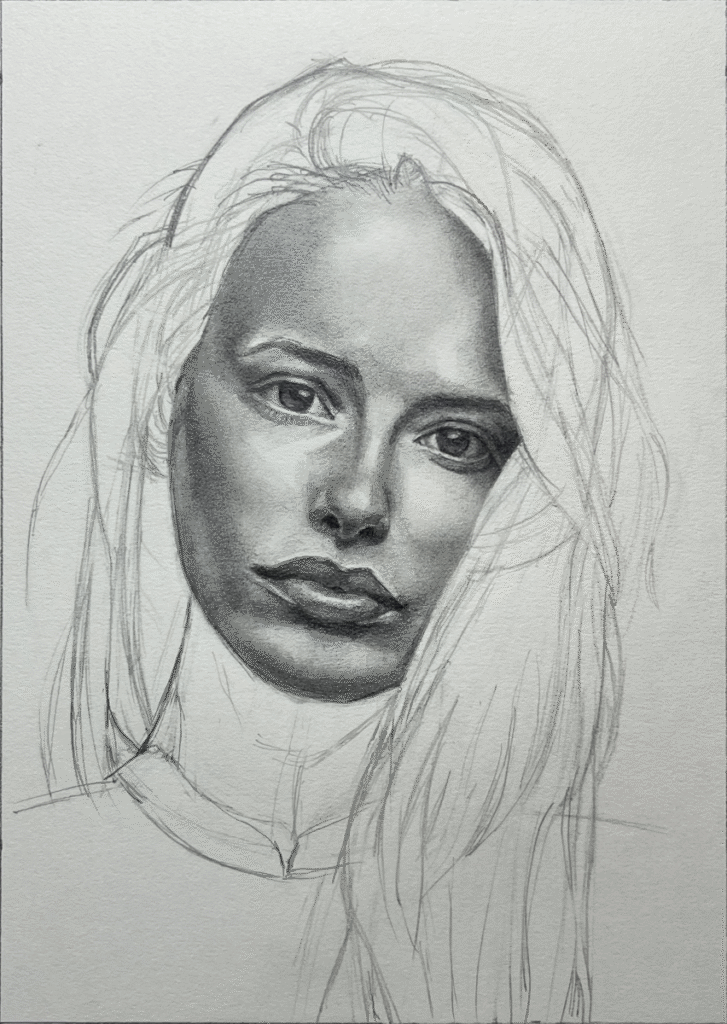
Here’s the results:
I want to note that I really seem to like using the 4H grade. The reason being is because when I’m filling paper tooth holes with a sharp tip, I don’t want to be darkening the shade too much, especially if I’m already at the value I need or close to it. So, at first I fill with the 4H grade, and if I need a darker grade, I switch to one.
Also, I’m still keeping my darks constrained with the darkest grade I’m using being an HB. For the face at least, which is generally very light, I would like to make sure everything’s balanced before punching up the darkest darks.
As I shade, I’m trying to analyze and understand why I see what I see. I take note of where the light strikes the face, where the form darkens because it turns away from the light. For me, this helps me in making my decisions.
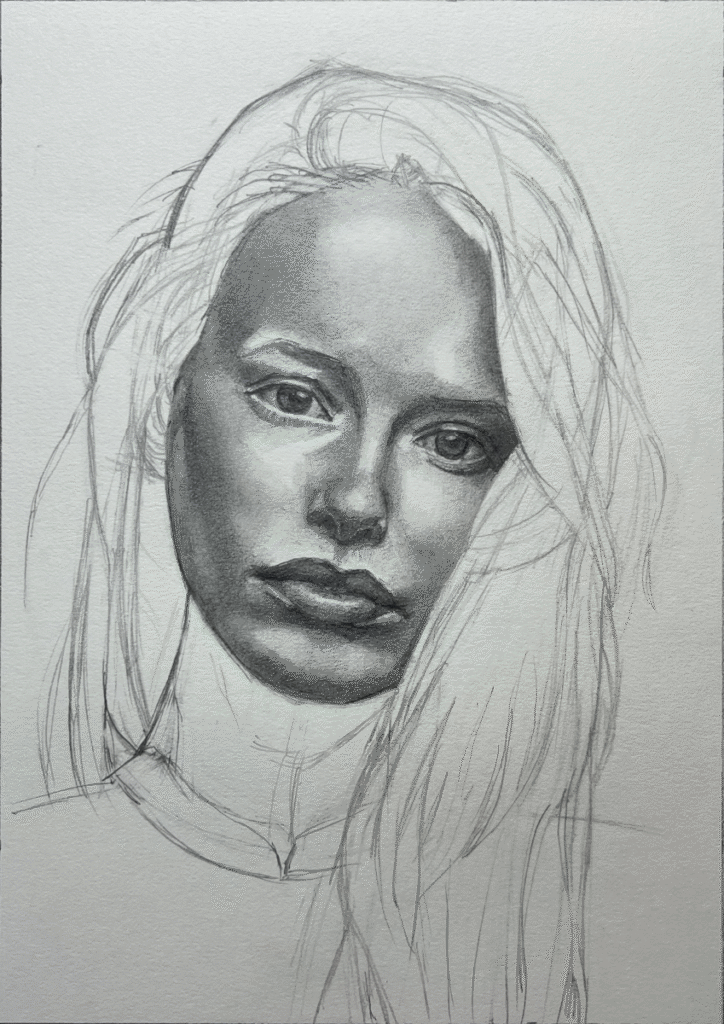
Adding the Darks
Now, it’s time to put in the darks.
Using a 2B lead, I strengthen the areas of darkest dark like the crevices of the eyelids and lips, the irises and pupils of the eyes, the underside of the nose, the bottom of the bottom lip, and the corner of the left eye starting to be occluded by the hair.
Assessment So Far
Now, the drawing’s starting to look like something. The process was a push and pull of adding back graphite or lifting it off. And all the while there was another push and pull of correcting the structure of the drawing – things I didn’t catch in the line drawing I may have had to redraw, making something smaller, bigger, wider, narrower, etc.
By the end of this stage of rendering the face, I’m hopeful for this drawing as begin my best one using continuous shading yet.
hi