
After failing to create a satisfying painting, making a mess out of “Riverbend”, I decided to practice. And perhaps that’s what I should have done in the first place.
Of course, either way, I had decided that if my first attempt at painting the Riverbend didn’t go well, that would be a kind of assessment exercise. Now, it was time to start making some improvements to my approach.
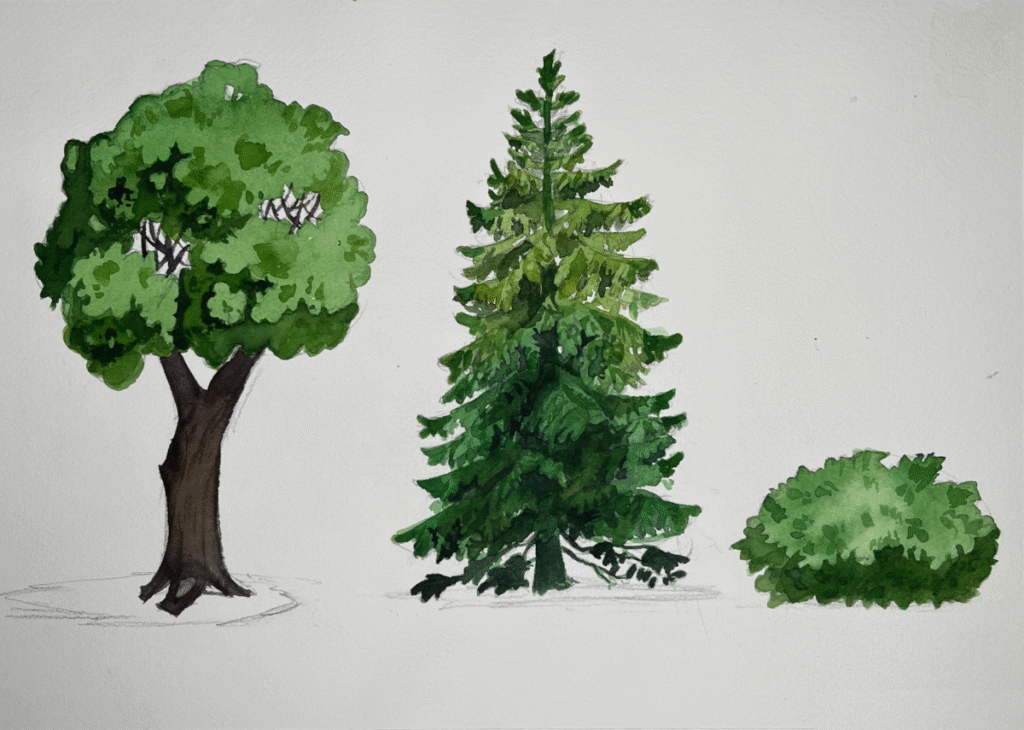
I would say that the biggest general differences in this exercise is that I mixed colors more confidently, applied them more boldly, and I was much more careful with my edges when it came to painting successive glazes.
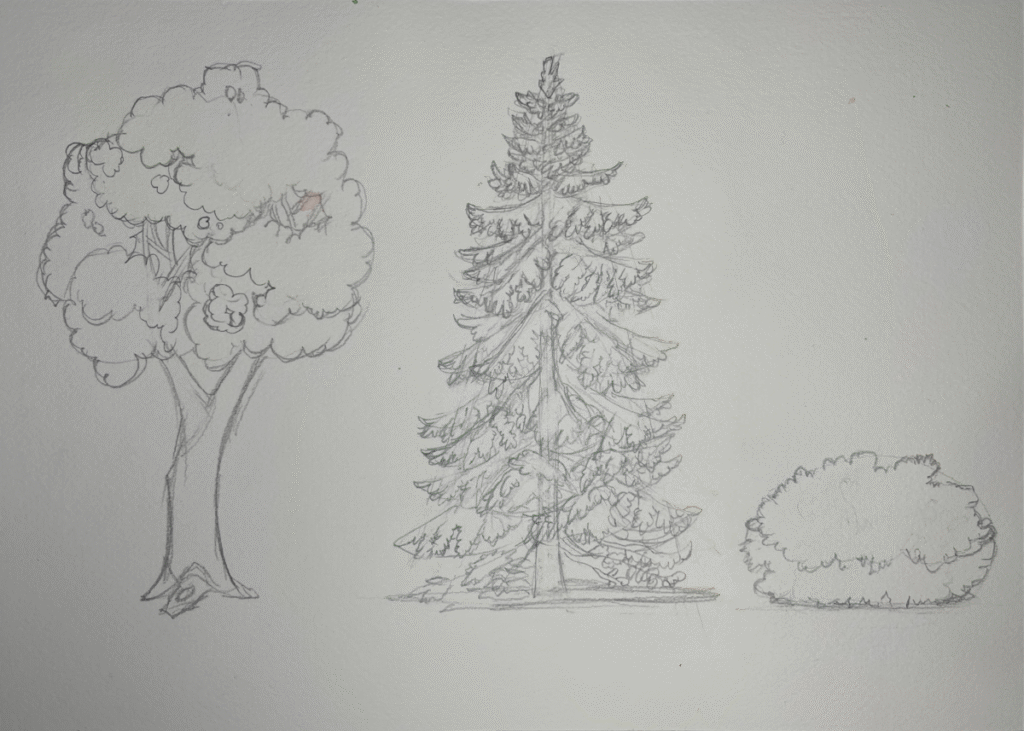
Drawing
I carefully designed the trees I wanted to paint. I have a certain look I’m trying to achieve. Even in the lay-in drawing, I had to keep that in mind.
Painting The First Tree

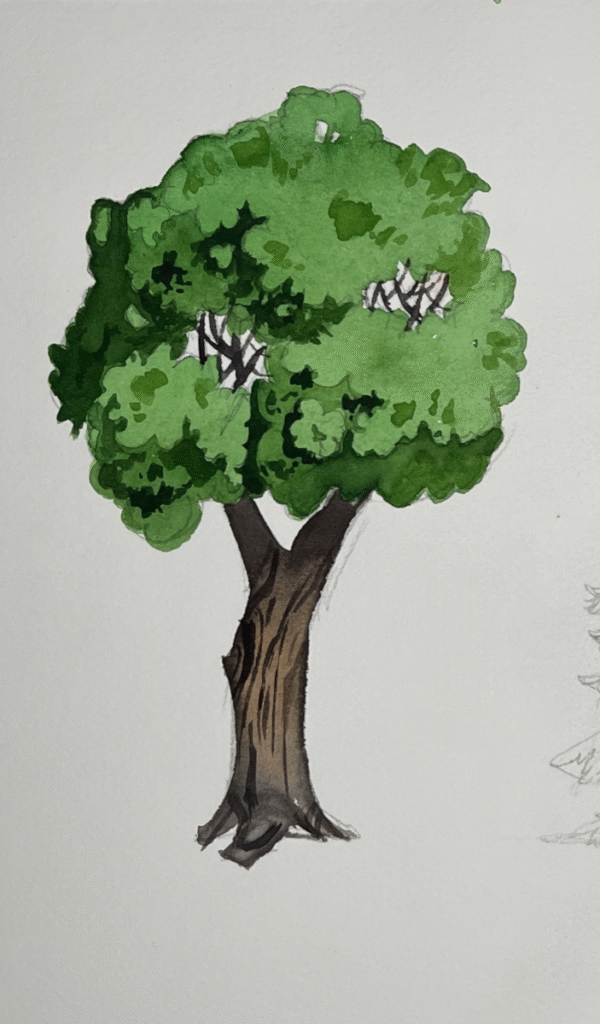
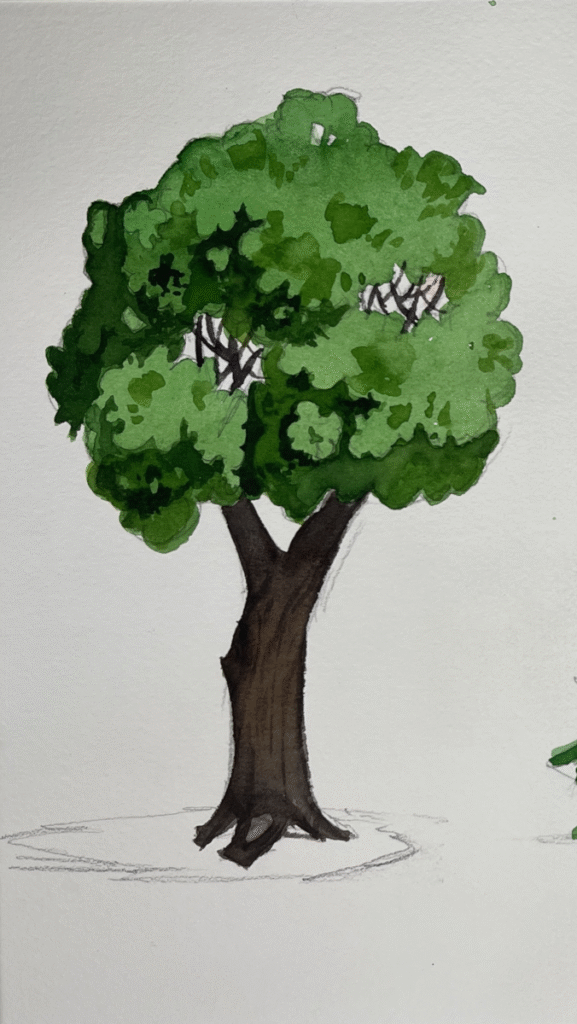
This tree would be a deciduous tree with a round crown. It would be important as deciduous trees would comprise most of the trees in my composition for Riverbend (my next attempt, I mean).
This is the approach I decided to take:
- A base layer of flat middle-toned green. I would follow this up with darker glazes for the shadows.
- I would suggest a few details. I painted these details in between layers of the shadow’s glazes. This would make it easier to unify the look of the shadows.
- I would be decisive with the glazing. I had a problem where I’d just keep adding layers, and I’d end up lifting pigment already put down and dried, creating mud. Here, I would try to avoid that.
- The trunk I would also paint in layers.
- First a wash of wet into wet of grayed browns and Burnt Sienna charged in.
- Then, I’d darken the trunk after letting things dry.
Painting the Pine Tree
It would be time to paint the tree that killed my first run of Riverbend. I clearly had problems with my approach, and now it was time to fix that.
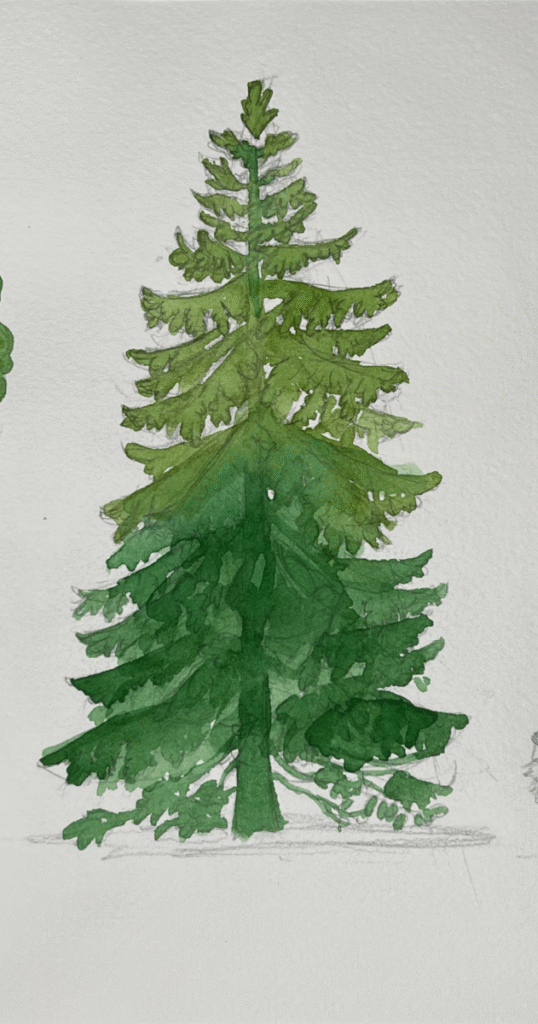
- I would start with a light wash as a base.
- Unfortunately, I did make a mistake.
- I filled each branch individually with color, but I hadn’t taken into account that I hadn’t made the branches toward the bottom of the tree too empty. There shouldn’t be as many holes in the bottom as I had left.
- So I would layer another wash of the base color over the bottom. This led to a mess, but I believed I could work it out as the painting progressed.
- Unfortunately, I did make a mistake.
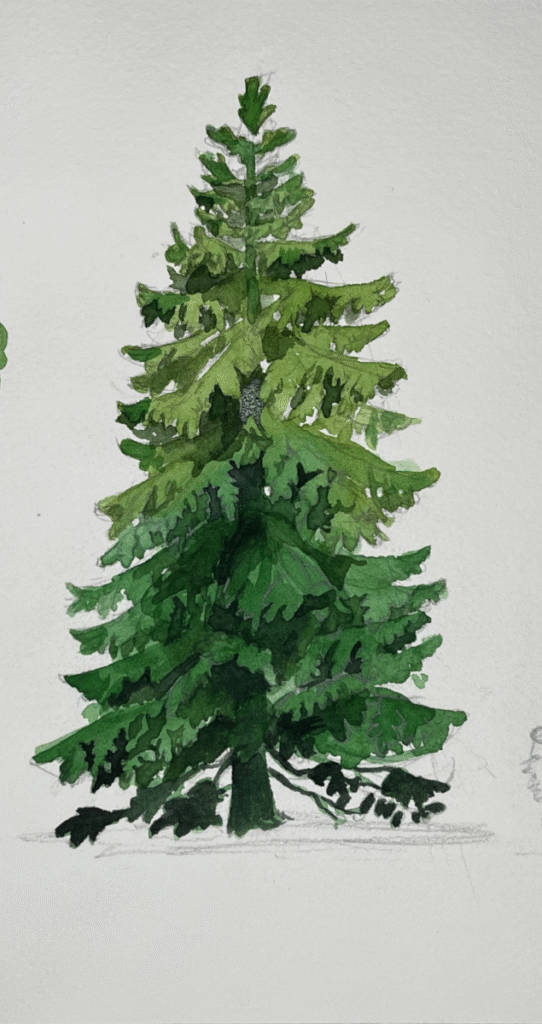
- From here, I would begin developing the details of the tree. First the shadows.
- I carefully laid the color of the shadows in, making sure not to make my edges messy.
- I would use a wet-into-wet technique. I had a general flat color for the shadows, but for certain areas of the shadow, I would drop darker, more concentrated paint in. In doing this, I would achieve more interesting, varied shadows.
- I’d also put in the little details of the pine tree’s branches. I used the base color for this. I needed the divisions between details to be only so dark.
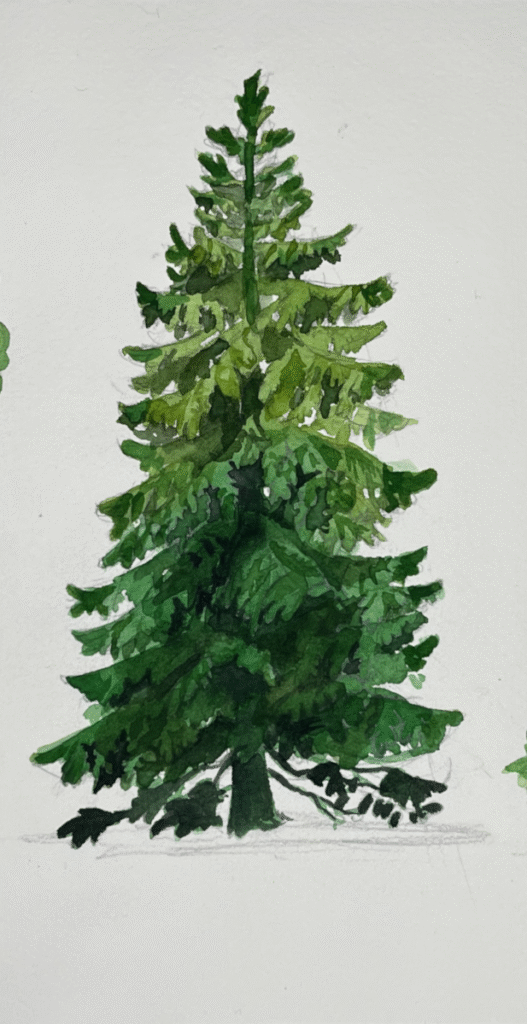
Self-Assessment and Critique
The pine tree had some problems. I lost my original drawing underneath the layers of color. I kind of got it back – I had my photos of my own drawing to reference – but in the end, it ended up a little messy.
I did what I could for the rest of the exercise, remembering that it’s more important to learn as much as I could before the final painting. But of course, I will need to remember to be far more careful when I get to said final painting. I need to remember what I’ve done wrong here, and then I will think of how to approach it more effectively.
I’m thinking:
- I need to be more careful about the base layer. I can’t leave too many holes leading me to have to paint a second layer.
- I need to mark out my shadows in the pencil drawing more clearly. Graphite, even when it’s not water soluble tends to wash away in water. And even if not for that, the dark color of the shadows should effectively hide any remaining pencil marks.
- And of course, as always, i need to be careful with my edges. I need to be even more careful than I was here – it got a little messy toward the end.
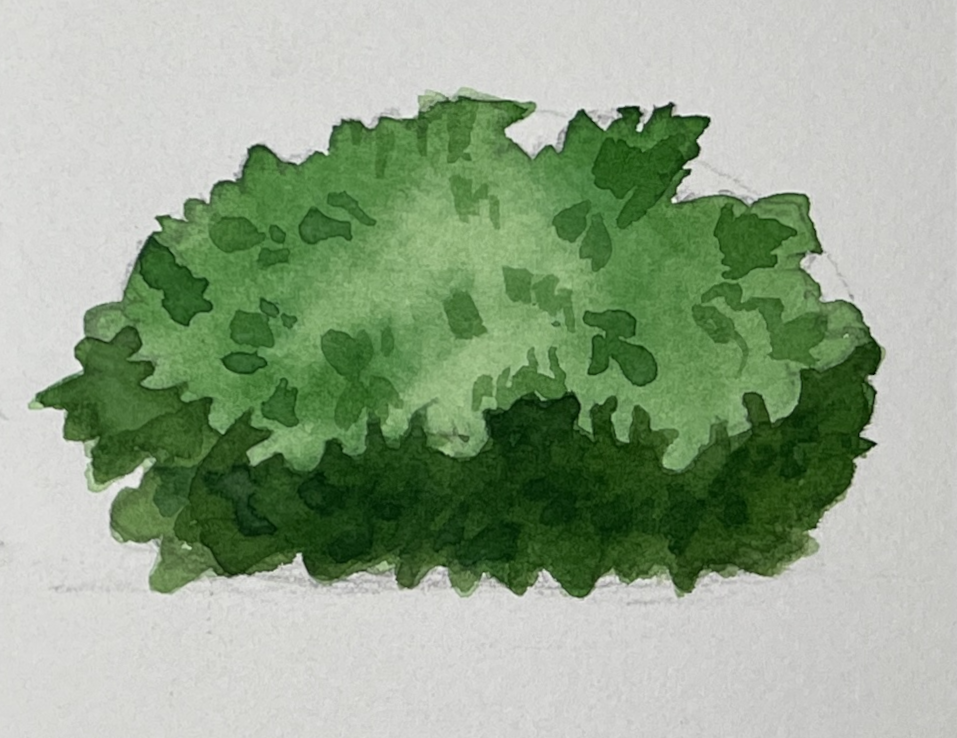
Painting the Bush
I painted a bush to round off the exercise. I think I’m basically going to be using the same techniques as I do for the crowns of the deciduous trees, so it may not have been completely necessary to paint a bush for practice here. But because I did, I got the chance to further my skill.
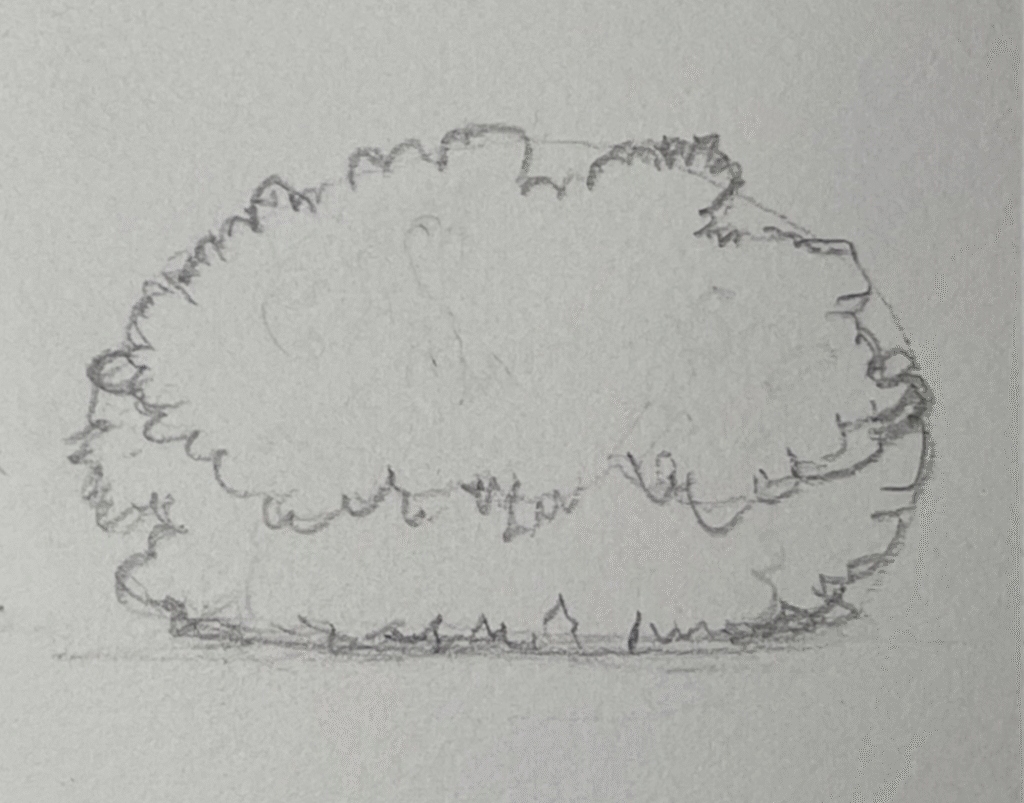
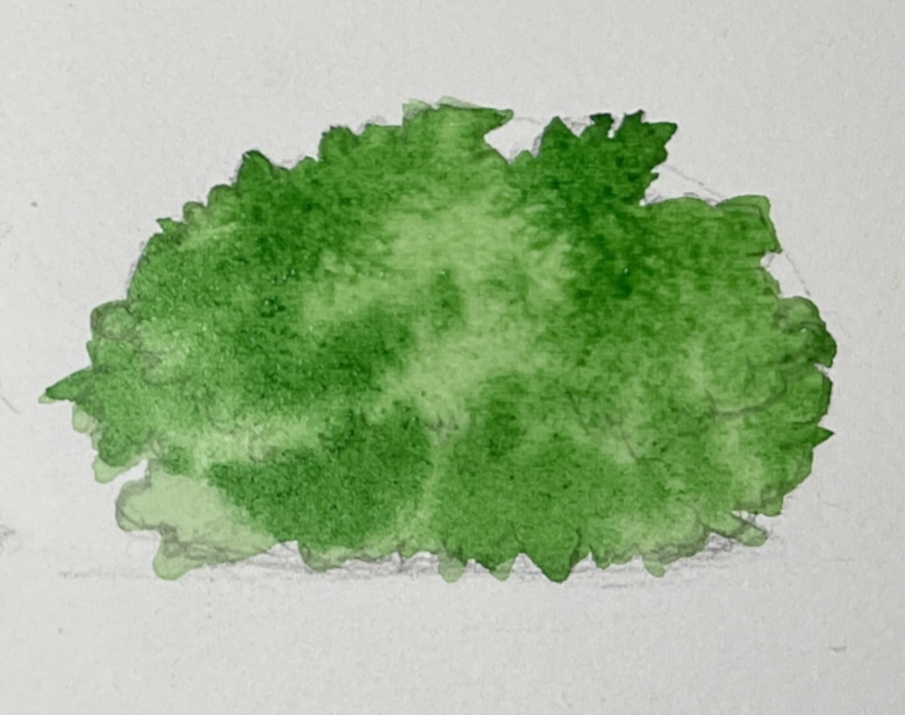
- I started with a wash of light green, then when it was still wet, I dropped in some darker, more concentrated green mixture.
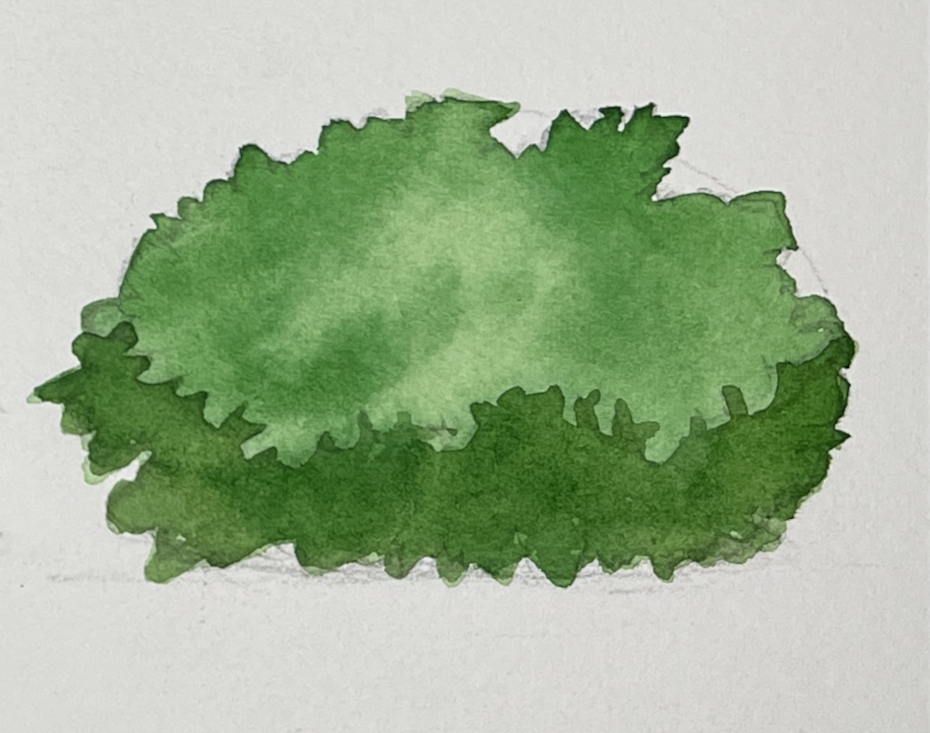
- When that was done, I glazed in some shadows.
- Like with the crown of the first tree, I drew some suggestions of detail in the shadows, then sandwiched another glaze of the shadow mixture over it.
- Last, I would paint in some suggests of leaves in the lighted area of the bush.
General Self-Assessment and Critique
Of these paintings, I think the bush was the best. I still need practice, but just in this one exercise, I was able to improve my approach.
I may try my second attempt at Riverbend now. If not, I’ll continue practicing and posting my progress.